How much can an SSD improve your Android development experience?
07 Feb 2016Android development tools have improved drastically over the last couple of years. Especially with the move to Android Studio and Gradle, building apps has become a much more pleasant experience. However, there’s still a big performance problem with using Gradle for Android. Compiling and running a non-trivial project can take several minutes and most of the time you forget the changes you were going to test before the app launches on a device or emulator.
A lot of people have written posts with tips and tricks to speed up builds and I’ve pretty much gone through and learnt from every single one of them. However, many people (including folks from Google) suggest using an SSD to improve performance. Thanks to the fine folks at Mutual Mobile, I’ve been building Android apps using a specced-out Macbook Pro with a fancy SSD, so I never had to worry on that front. Recently, I decided to upgrade my secondary MacBook Pro with an SSD and thought it’d be interesting to find out just how much does it improve the overall experience.
After some research, shopping and careful hardware changes, I am done and this post is to document my findings. My approach was somewhat scientific so don’t get mad if the numbers vary slightly for you. Use this as a guide to get a high-level idea of the magnitude of improvement.
The machine
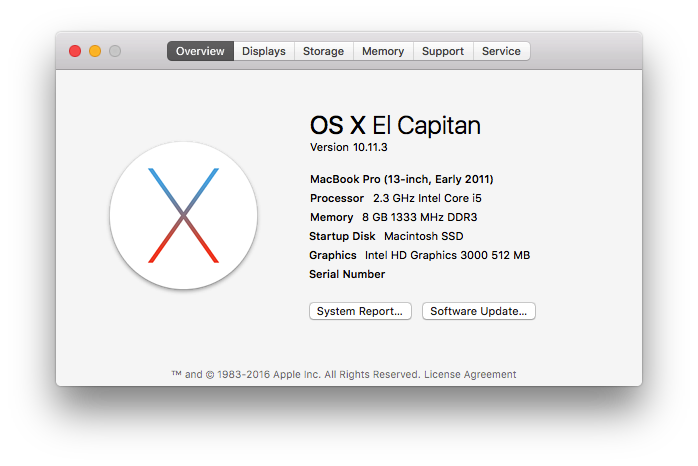
My ageing 2011 MacBook pro was the perfect guinea pig for this project. To give credit where its due, this machine has aged quite well. It is perfectly capable of small to medium workloads for normal users, but Android Studio was simply unusable. Time to fix that!
Hardware
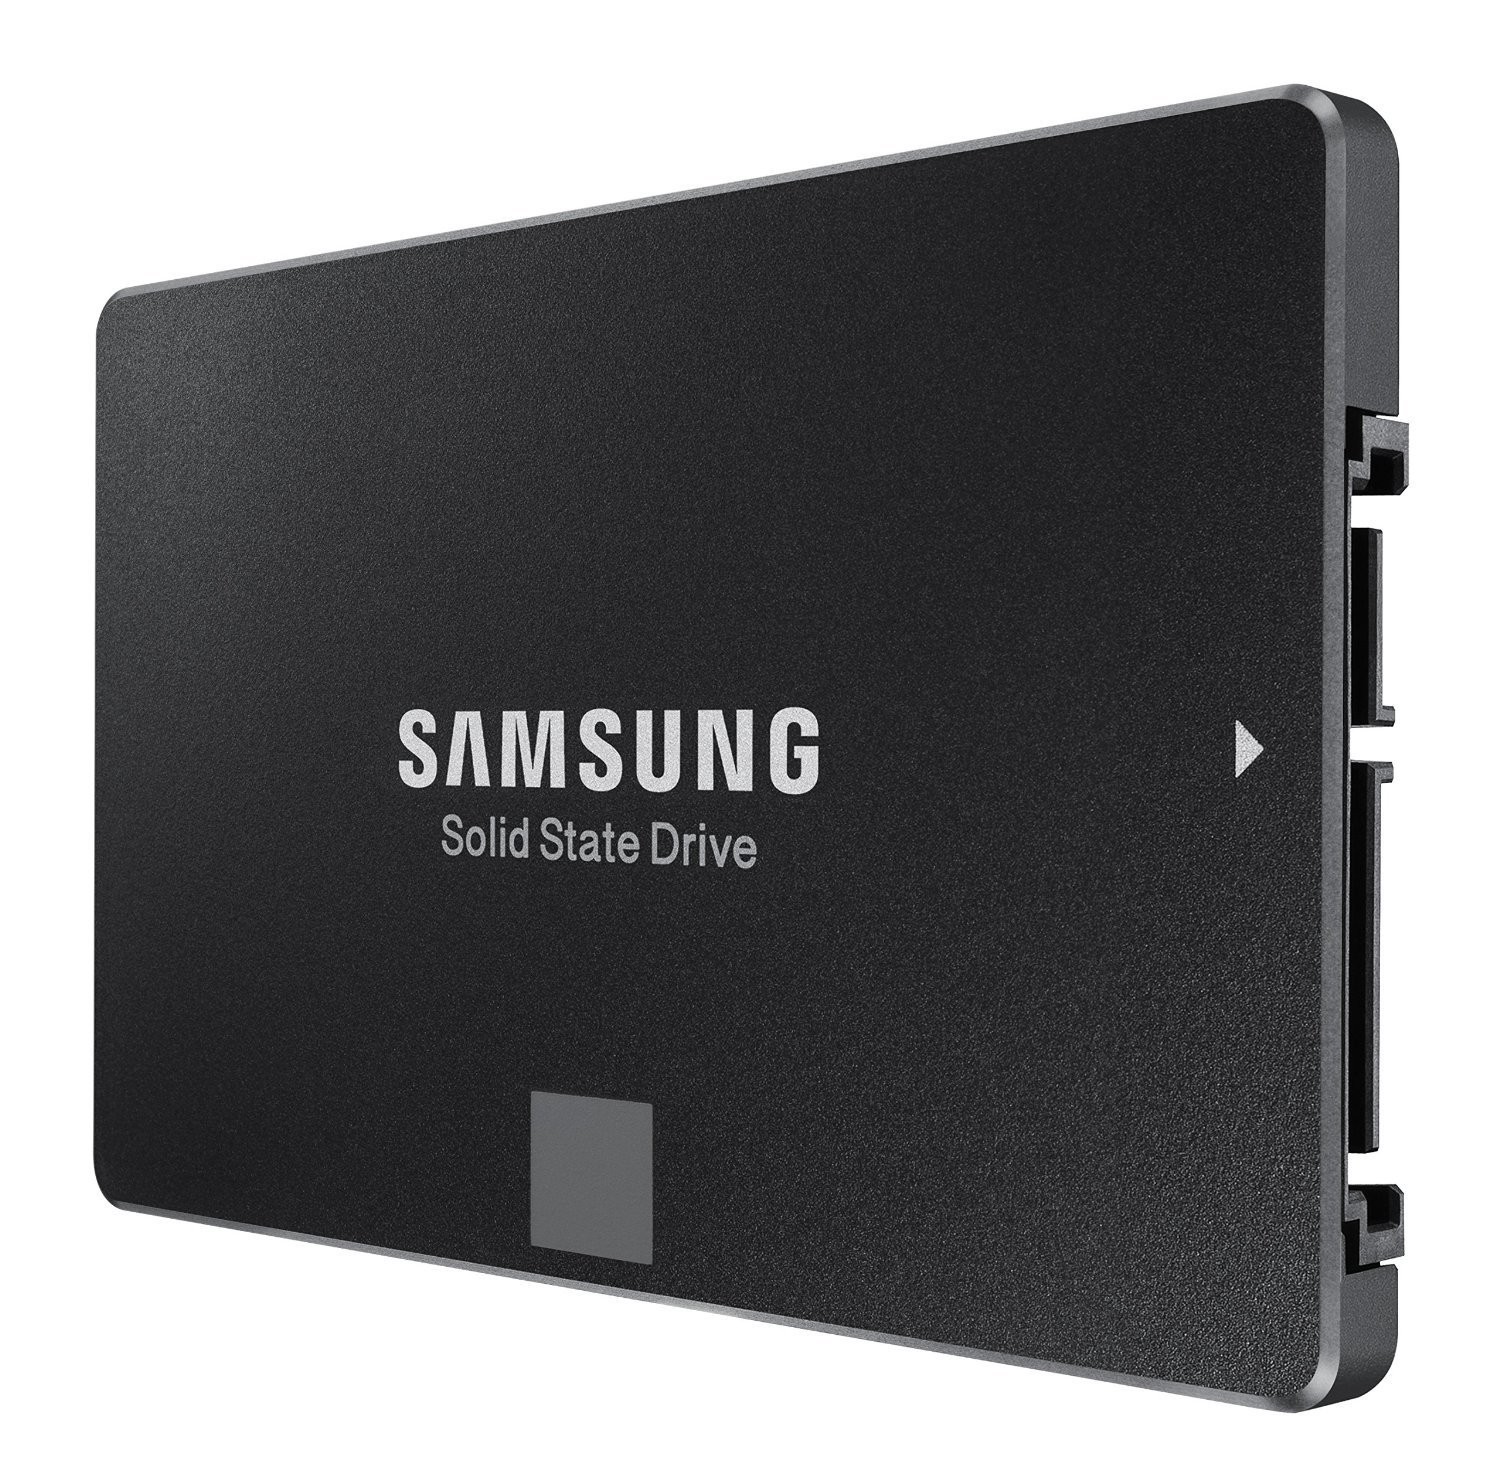
I decided to swap out the SuperDrive with an SSD, after all, who uses optical drives anymore? It also allowed me to continue using the mechanical drive for non-development purposes and save money by going for a lower capacity SSD. Not all SSDs are created equal and performance for drives in the same storage capacity can vary greatly. I found ssd.userbenchmark.com to be a good resource for comparing different options and finally ended getting a Samsung 850 EVO 120GB from Amazon.
I know SSDs prices have dropped quite a bit in recent times and higher capacity drives have become very affordable. I just didn’t want to spend the extra cash due to the following reasons:
- I’ll be using this drive only for the OS and most commonly used applications.
- I’ll still be using the mechanical drive for everything else.
- I get the same read/write performance as the 1TB model so it doesn’t matter what capacity drive I get.
- This is a secondary laptop which I occasionally use for development.
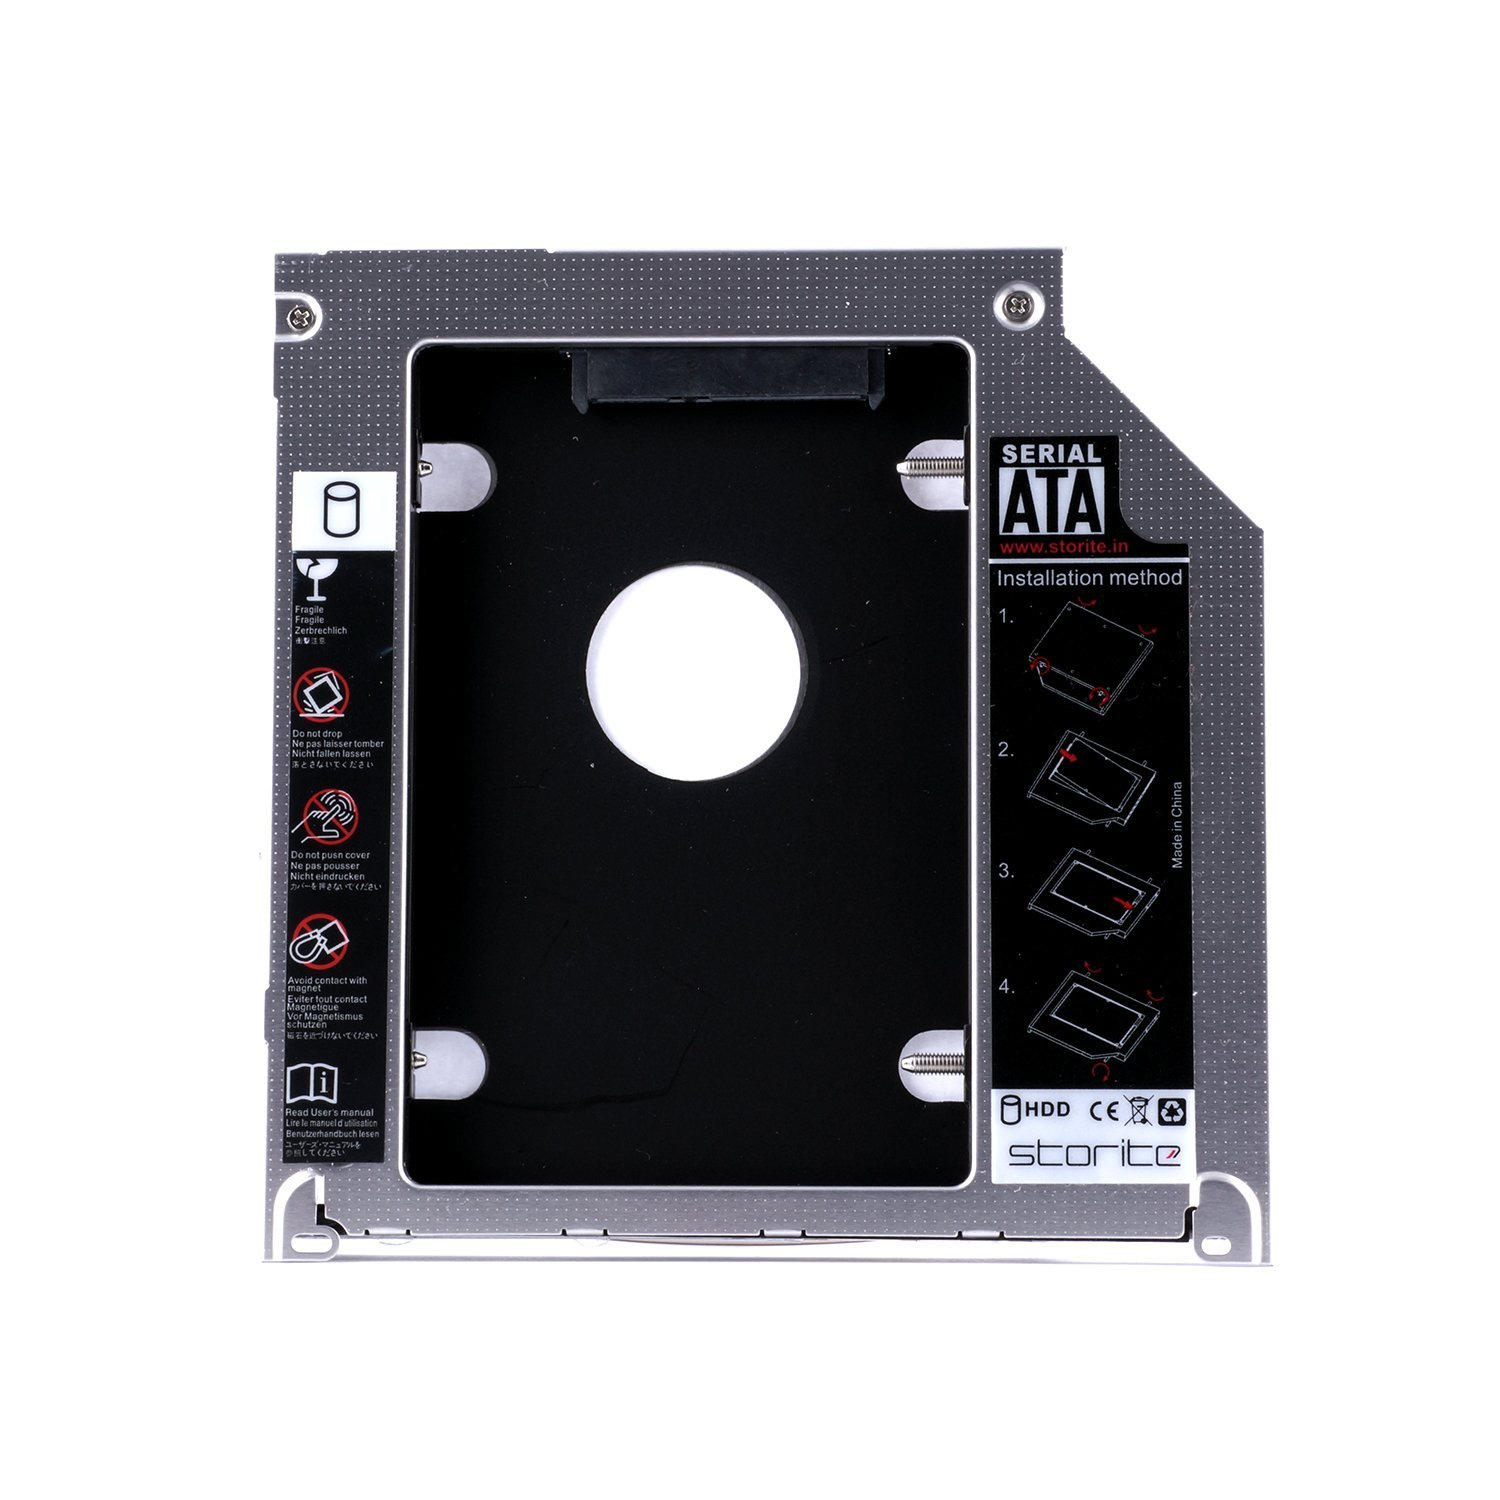
The superdrive and SSD are not directly interchangeable, so I had to buy a caddy to install the SSD securely in the slot. I went with this one, again from Amazon.
Total money spent — ₹5,989 (~$88).
Tools
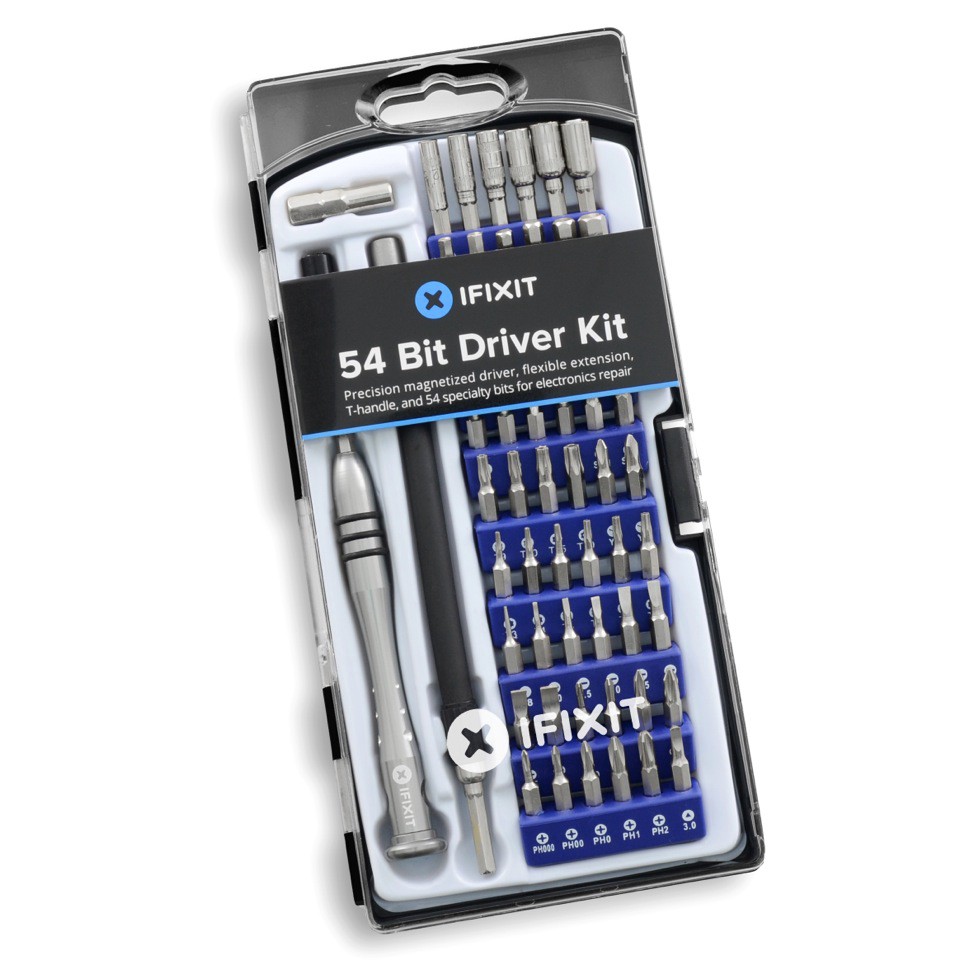
If you have ever tinkered with modern electronics, you’ll know that having the right tools is extremely important. I made the mistake of not checking if I had all the right bits before I started and ended up struggling to open a few screws, but a friend lent me his iFixit kit and it was smooth-sailing after that.
Process
There are tons of tutorials online that show you step by step how to go about this. I followed this one —
Instructions vary slightly for different models, so if you are going to do this yourself, make sure you find the tutorial for your model. YouTube is pretty good source.
After the hardware installation, I performed a clean install of OS X on the SSD and formatted the mechanical hard disk.
Optimization
The performance improved quite a bit, but not as much as I was expecting. As per Samsung, the 850 EVOs are rated at up to 540 MB/sec for sequential reads and up to 520 MB/sec for sequential writes. I was not even getting anywhere close to those numbers.
Turns out that the SATA link speed for the superdrive is 3 Gigabit compared to 6 Gigabit for the hard disk controller. I quickly swapped the SSD and hard disk and then things went to a whole new level.
Benchmarks
Alright, let’s get into the juicy bits, shall we?
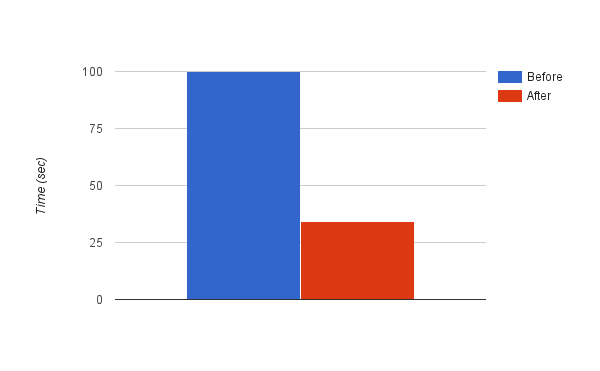
Boot time
First, let’s see how much time it takes for a cold boot.
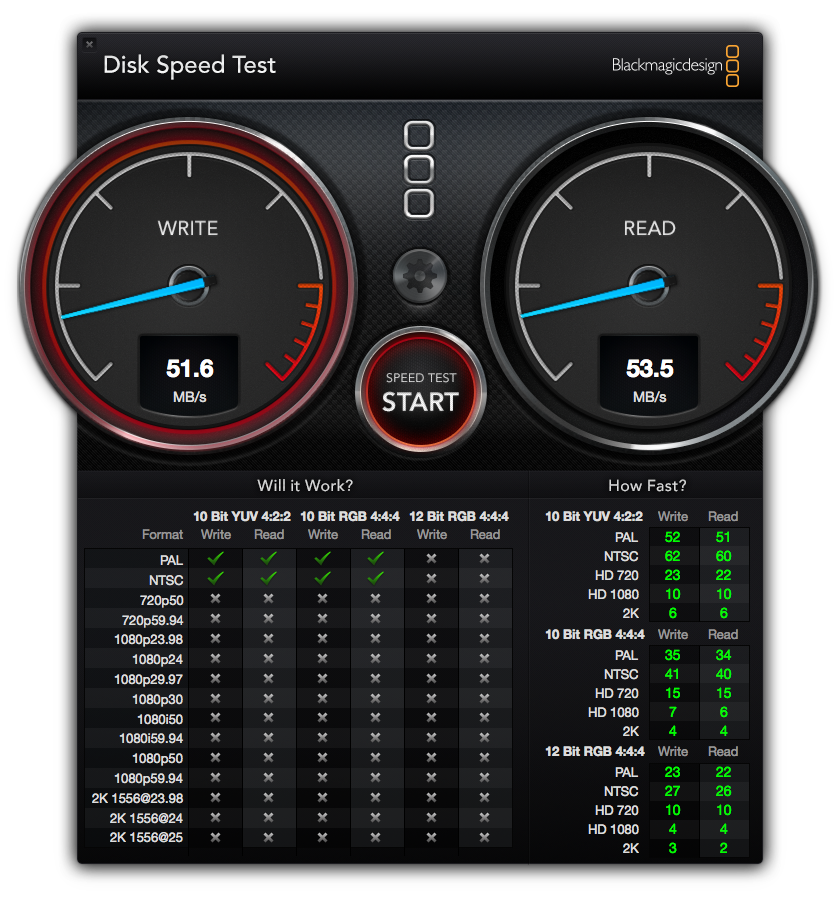
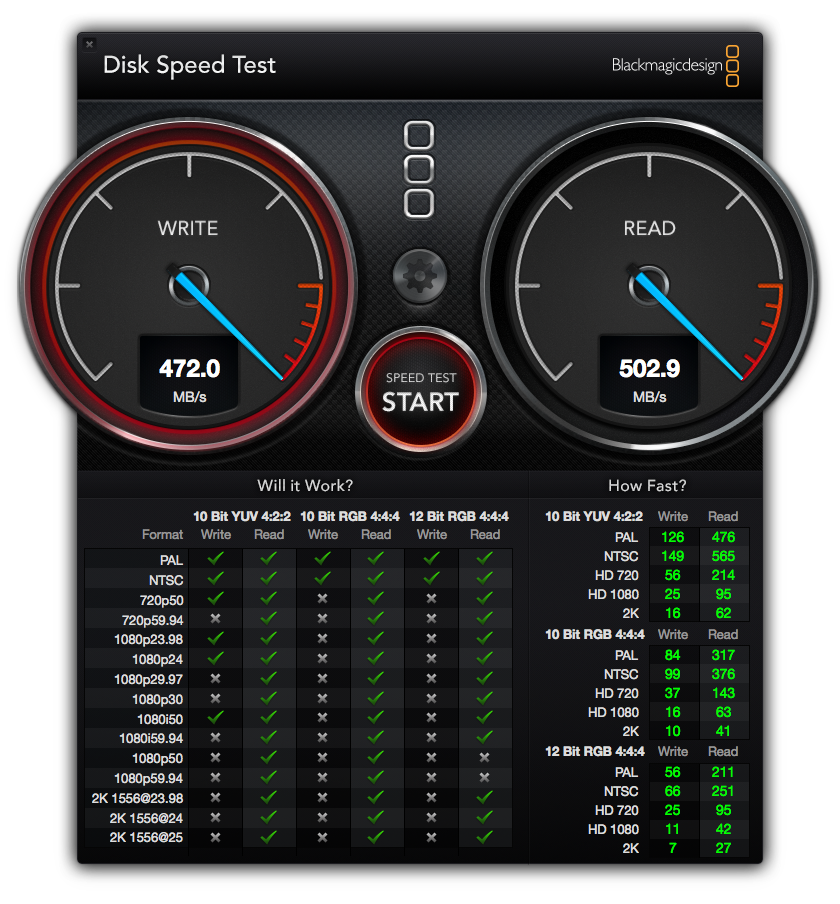
Disk Read/Write Performance
Next, I measured pure disk read/write performance.
Before
After
Launching Android Studio
Next, I measured how much time it takes Android Studio to launch and finish loading a reasonably large project.
Gradle Sync
Next up, was time taken to perform a Gradle Sync with a dummy change so that it doesn’t download any new dependencies thereby preventing network performance from affecting the time taken.

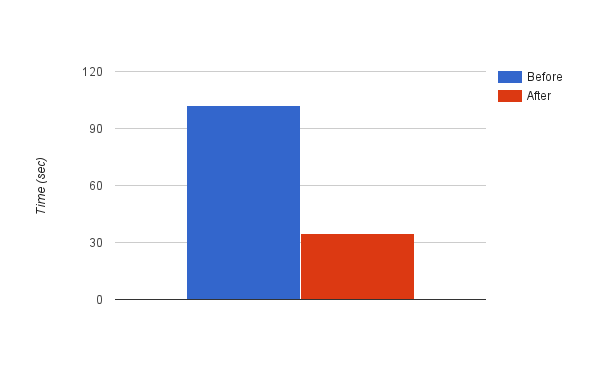
Running an app
Time taken to perform a non-incremental build and deploy it on a Genymotion emulator.

Conclusion
I did all my testing using Android Studio v1.5.1. With the new improvements across the board in v2.0, which is still in beta, I am certain that things will get even better.
I think this little experiment makes it clear that you don’t need to go out and spend over a thousand dollars to have a reasonably good experience while using Android Studio. Just upgrading an existing desktop or laptop with an SSD is an extremely viable alternative, especially if you are a student or can’t afford to buy a new machine at the moment.
Happy coding!